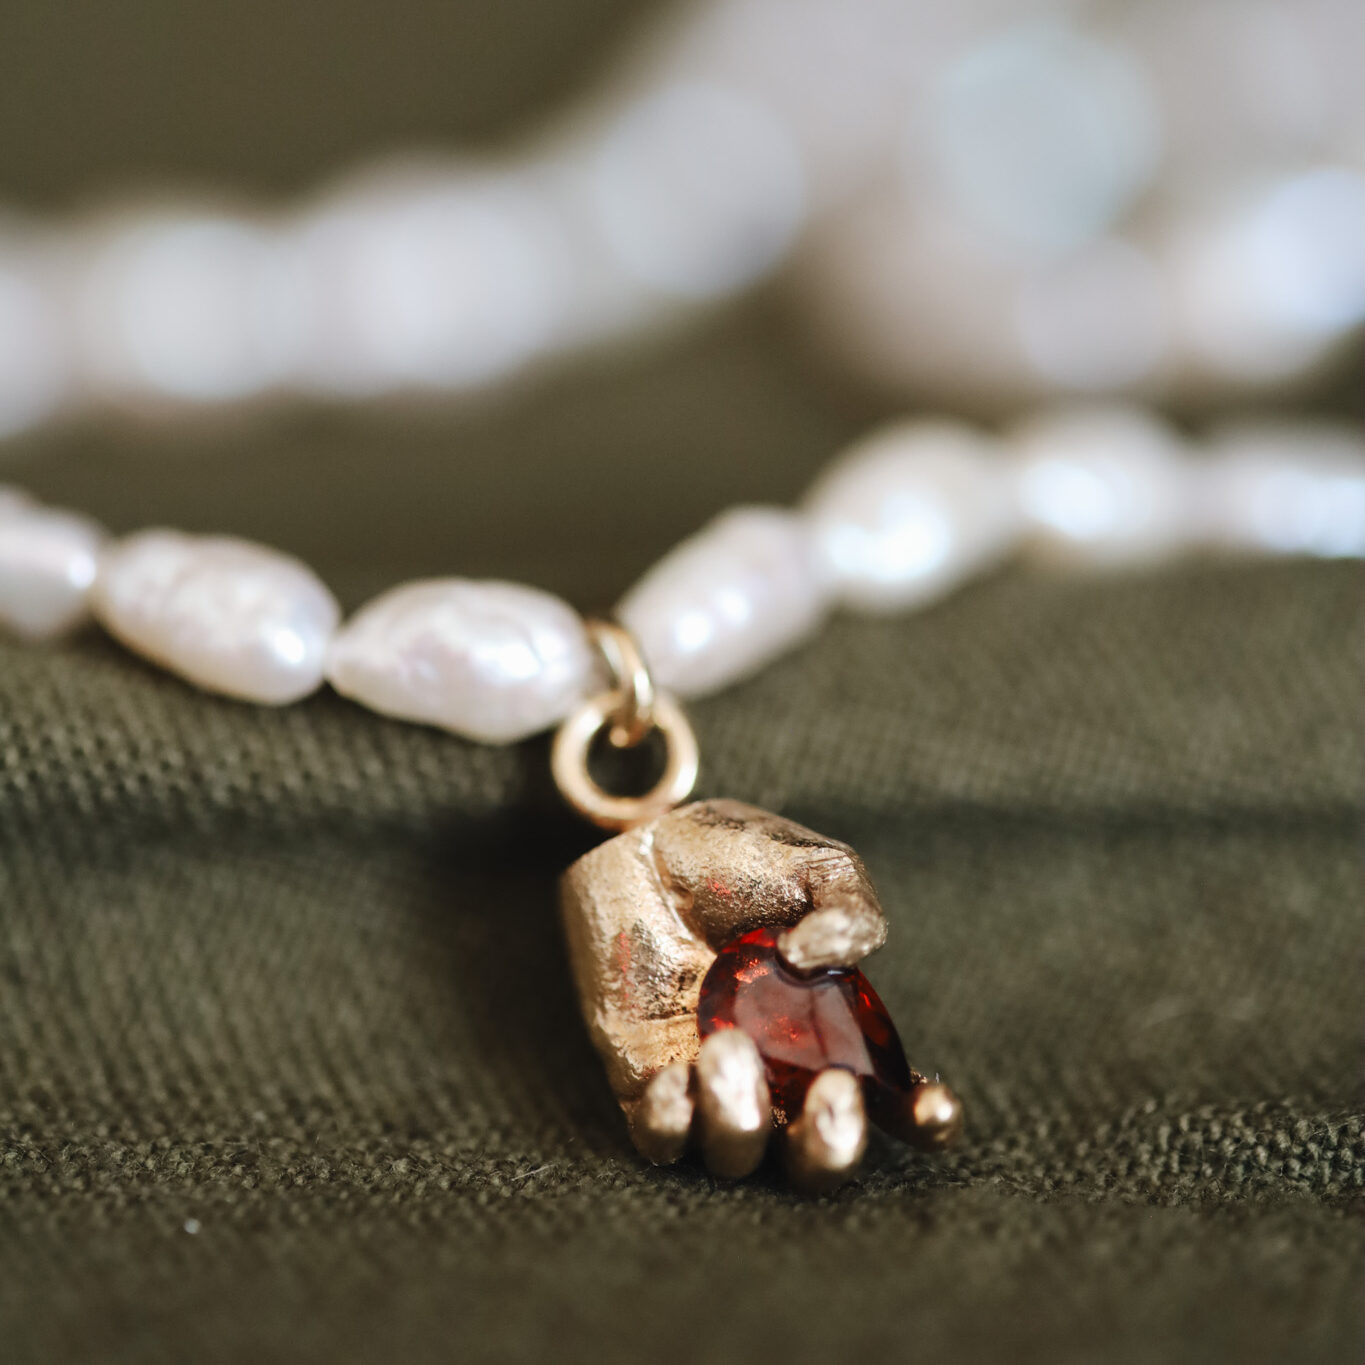
I believe as a brand and as a maker of new things it is important to be transparent and show customers how things are made in my workshop.
To do so – I’ve decided to write a blog post about how I make my silicone jewellery. First of all, I would like to say this is self-developed technique and there aren’t any jewellers that I know of who make their jewellery using this process. I have developed it while studying at Middlesex University, and the first piece I made was a necklace back in 2011, surprisingly it was already inspired by a coral!
Through out the years I have seen puzzled faces of people trying to understand how it is made, is it 3D printed or is it handmade, what is it made of and how is it attached.
In any show that I participate I always get very similar reactions from visitors. Most of the people look at it from the distance and contemplate in their head (or sometimes out loud) what could it be made of. The first question I always get asked, if it is made of porcelain or resin. I really love the reaction once they touch it, everyone gets really surprised by the softness and how tactile pieces are. I always try my best to explain people how pieces are made, how much hand making is involved and how time consuming it can be. However, I believe that the best way of explaining anything is showing it visually!
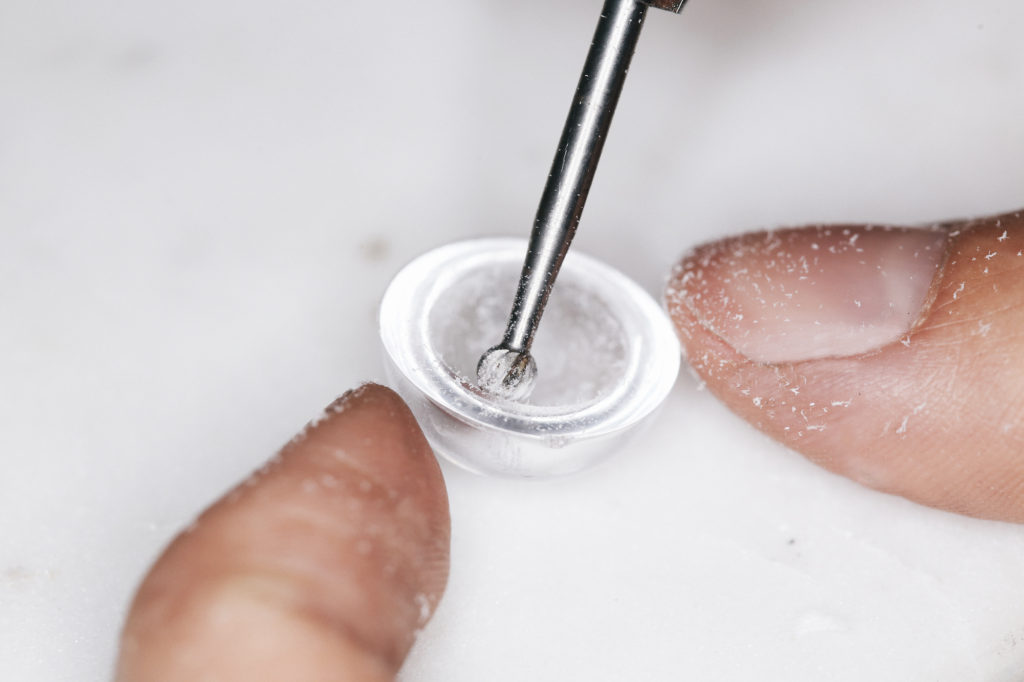
To achieve bubbly texture on my silicone I make a pattern into an acrylic mould by hand drilling each bubble individually. I have all sorts of different moulds for different pieces of jewellery. Spent days and weeks making them giving a headache to all my studio neighbours as drilling makes horrible squeaking sound. A bit like tortured animal and horribly crying child combined!
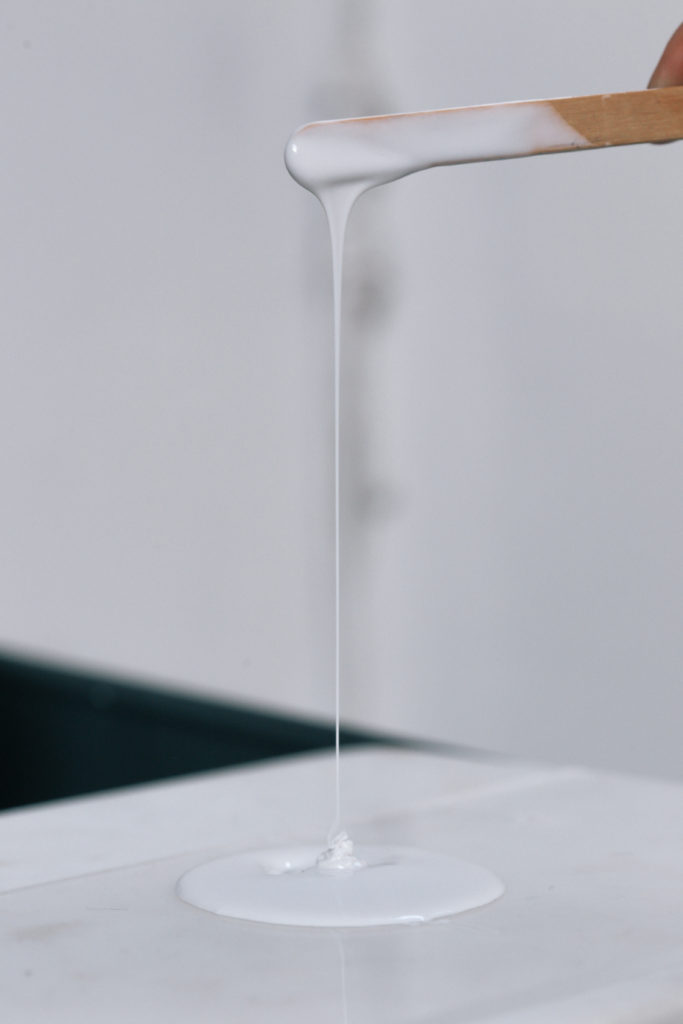
Once I have my moulds ready I move on to preparing silicone. It comes in a white liquid form, which is like a blank canvas that can be formed and dyed into whatever I can imagine.
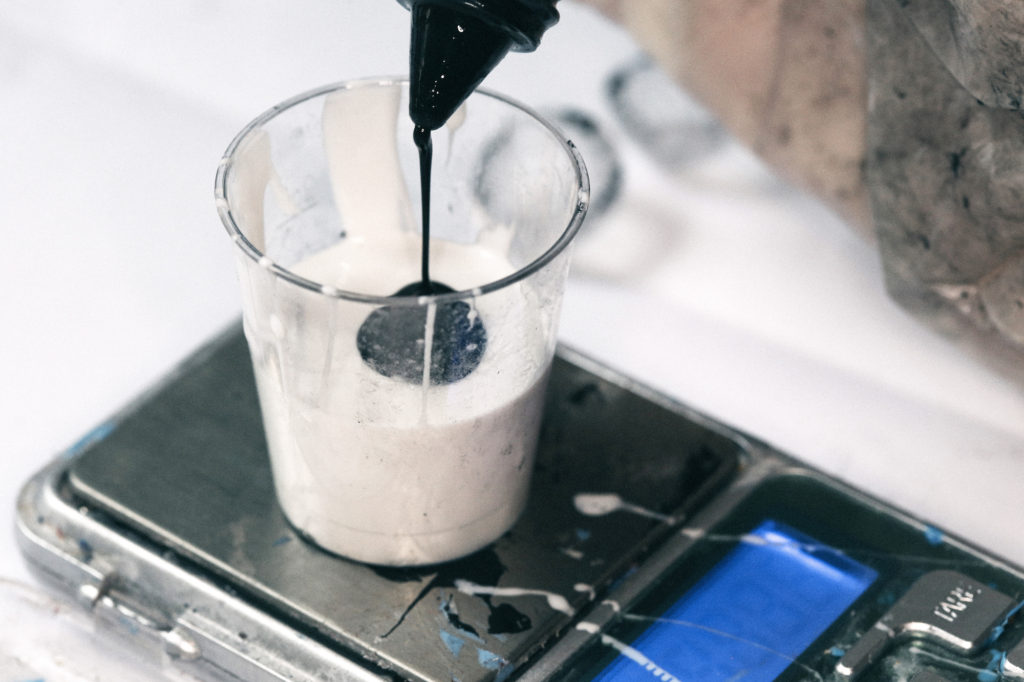
The most exciting part is making up the colour! The fun thing with silicone is that I can mix up any colour I want to by adding pigment. In this photo you see only black, but normally I add a mixture of different colours to achieve the colour I want, for example Coral, Blush, Light Olive Green or Khaki! It is very a exciting process! I can make muted tones, pastel colours or very bright and vibrant. At the moment I am really into pastel colours that look more natural.
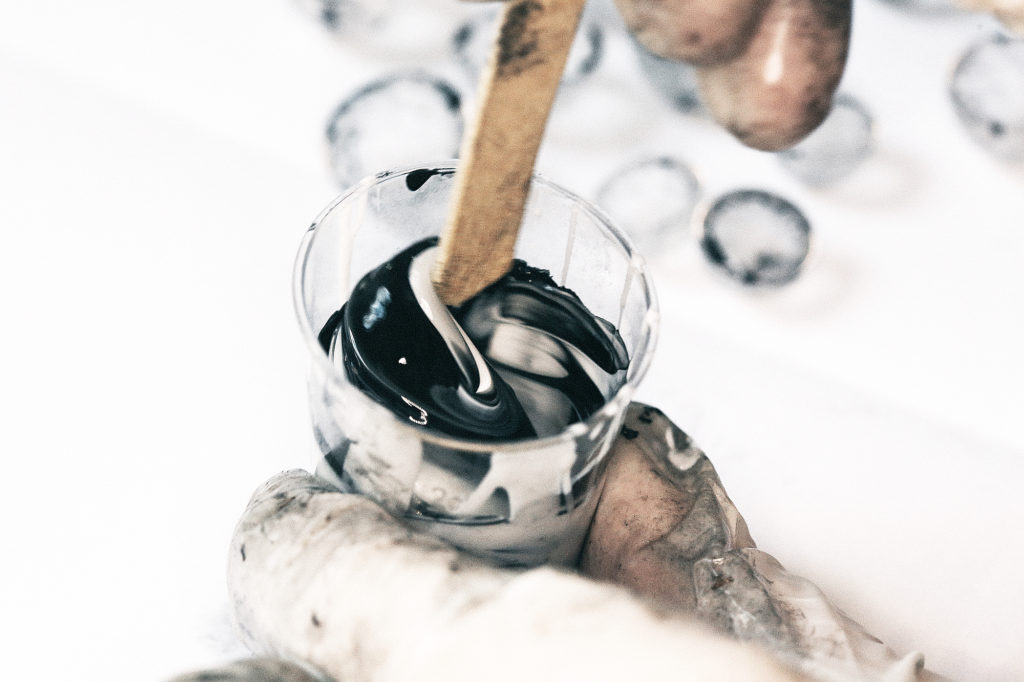
Mixing it up really well!
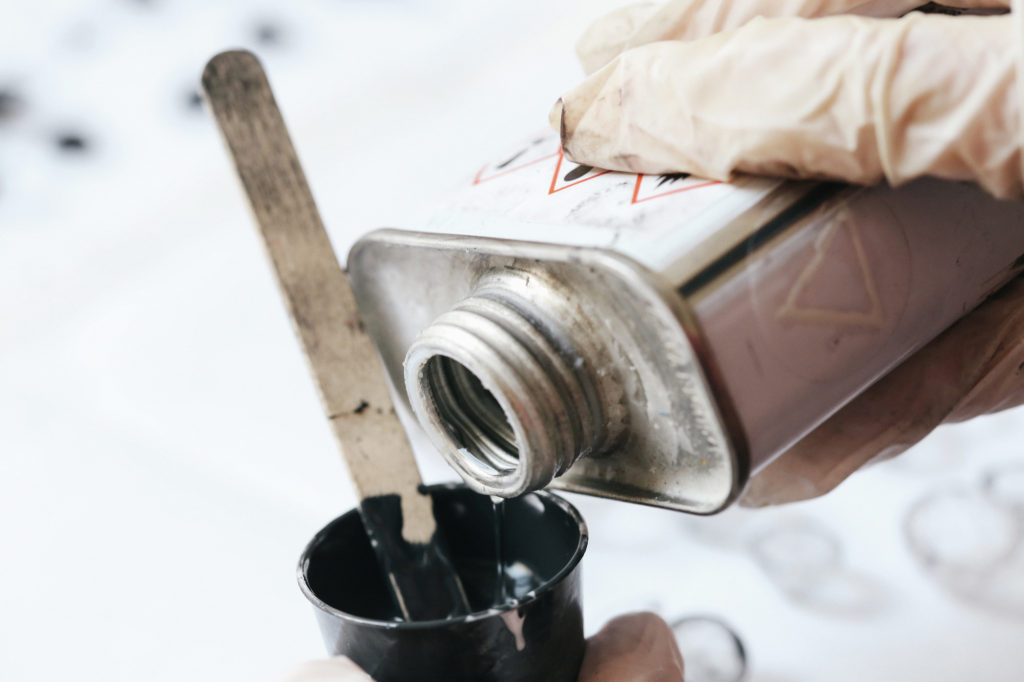
Once I have the colour I want, it is time for catalyst. It’s a clear liquid substance that transforms silicone into solid material.
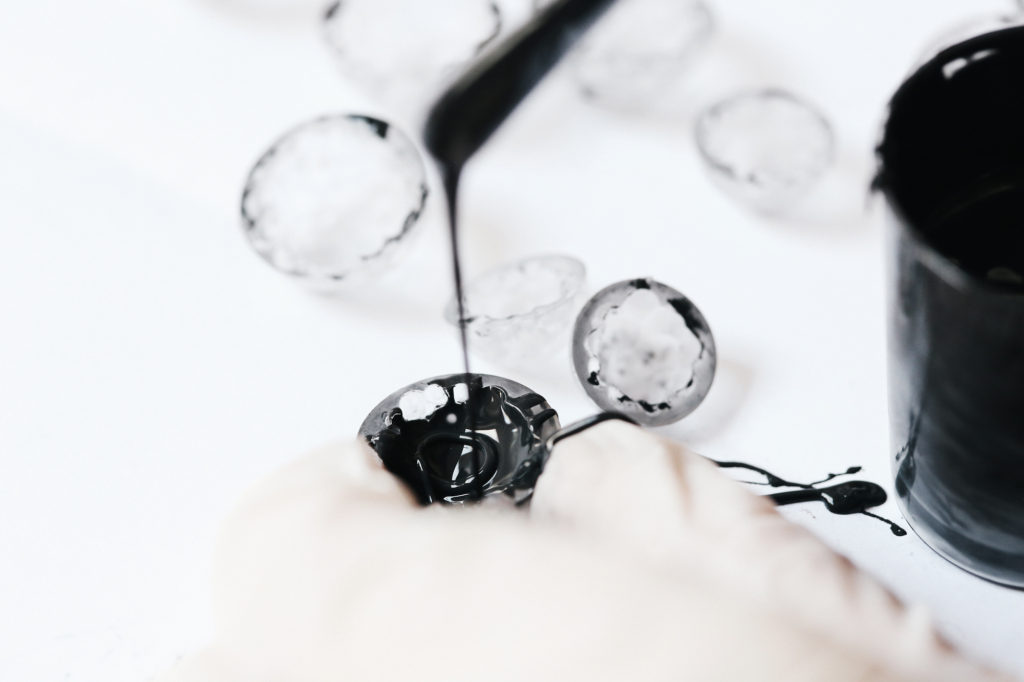
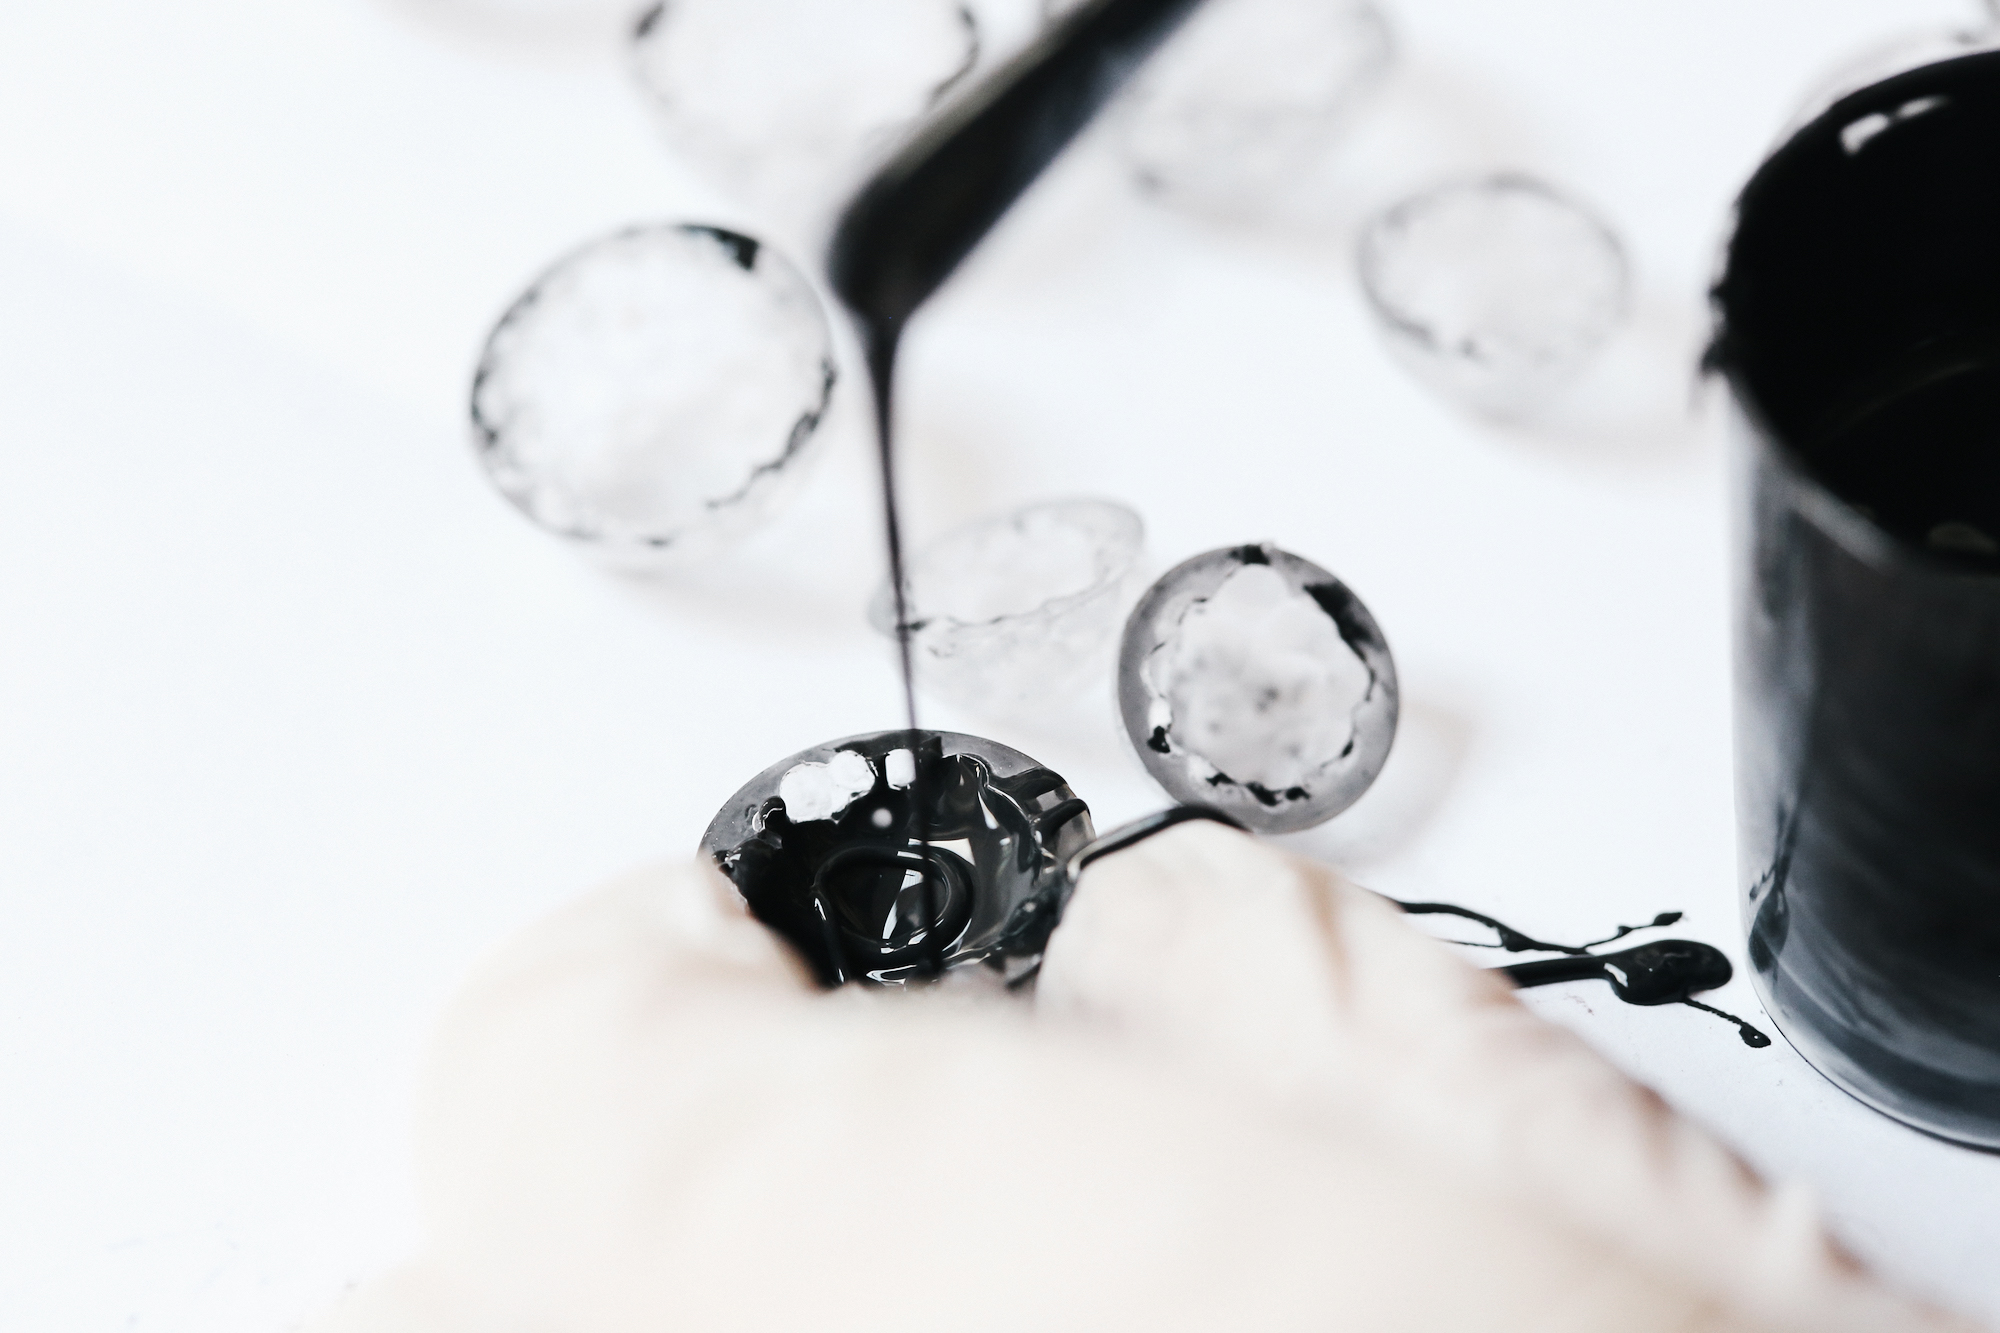
I have a short window of about 20 mins to poor silicone into moulds before it starts to set.
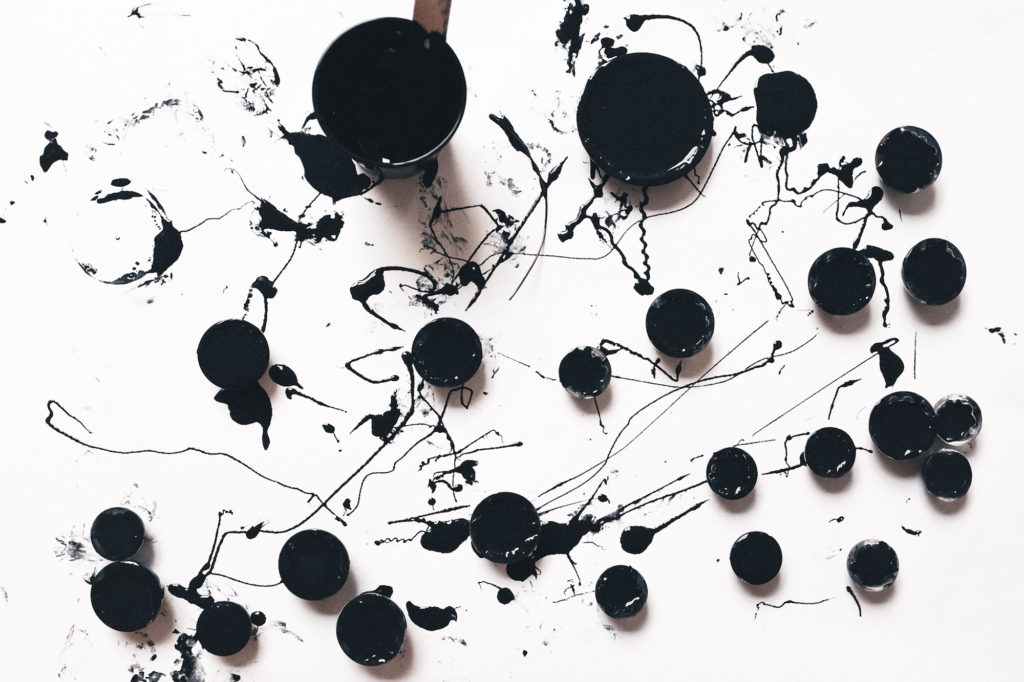
Then I wait and I wait and I wait – for about 24 hours.
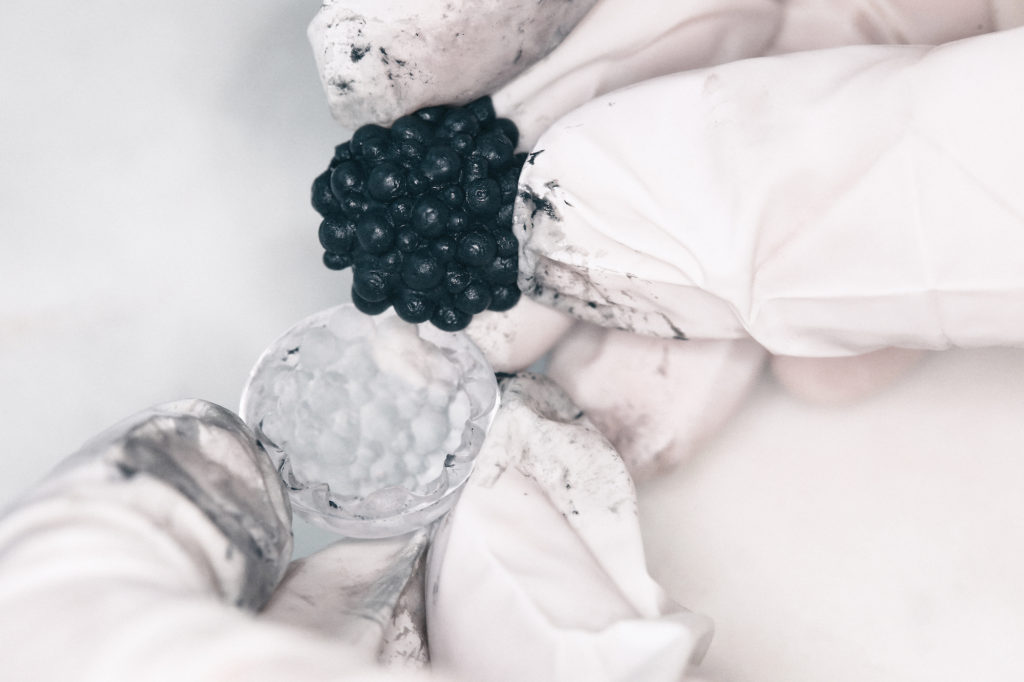
Et Voila – it picked up the texture of the mould perfectly!
 No products in the cart.